How To Become A Member?
This process will take about 2-5 mins. Please note that all the membership packages offered by Owners Goa are paid plans. You can have a look at the packages here.
Step 1:
To register, click on the user icon at the top right corner of the screen as highlighted in red in the image below:
![]()
The main reason it’s mandatory to be a registered user is to gain access to the Submit A Property feature. Being a registered user ensures that your data is securely submitted.
Step 2:
Once you click on the icon you should see a Login / Register dialog box. Click on the Register To Become Member option as highlighted in red in the image below.

You should see a member registration dialog box as in the image below. Enter a username, email address and choose a user role. We offer 2 roles: Agent or Agency. Select Agent as your user role if you are a homeowner or an agent. If you are a builder, developer or an agency you can select Agency as your user role. Then, click on the Register button.

Step 3:
Once you are successfully registered you should see a message as below:

You should receive the username and password in your email shortly. Make sure to check your spam folder in case the email lands up in your general inbox. Don’t forget to add the email address to your contact list.
Step 4:
![]()
Next, go back on our website and again click on the user icon in the top right corner of the webpage and enter the login details in the Members Login form and click on Login button.
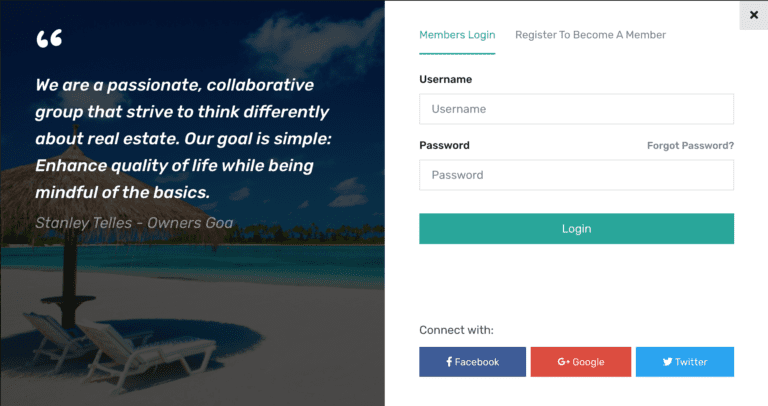
Note: You can also use your social logins like Facebook, Google, Twitter to register and login to our website.
Step 5:
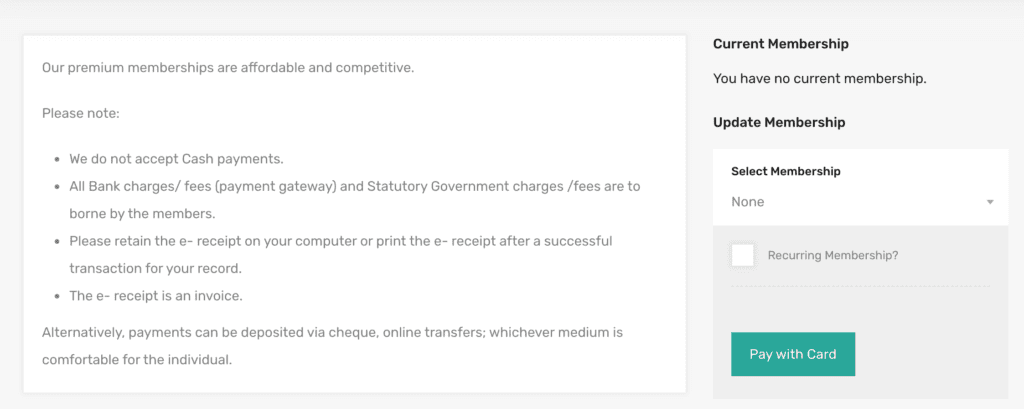
Once you are successfully logged in you will be re-directed to the membership packages pricing page by default.
Step 6:
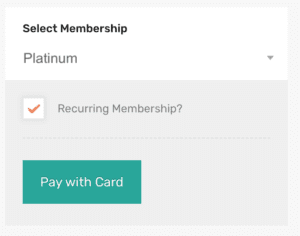
Select a membership package from the drop-down. You can learn more about the plans here. If you want to set up an automated renewal of your plan please select the checkbox Recurring Membership? as shown in the image below and click on the Pay with Card button:
Step 7:
Next, a payment processing dialog box should open where you should enter your basic details including your email address, full name and address. Then, click on the Payment Info button.
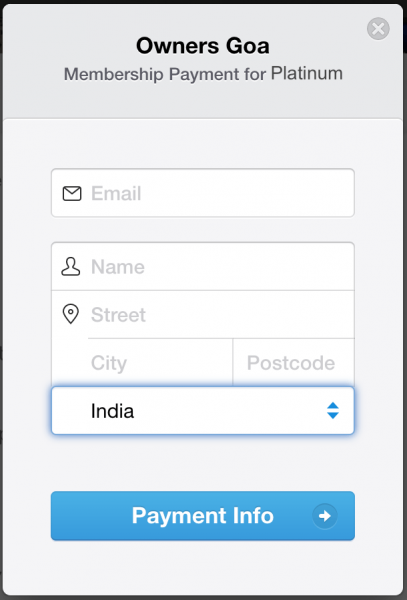
Step 8:
Once you click on the Payment Info button, you will be taken to the next step where you have to enter your debit/credit card details. If you prefer that your card details be saved in the system for future recurring payments, you can click on the checkbox Remember me. Finally, click on the Pay button.

Step 9:
Once your payment goes through successfully you should receive an email confirmation about your payment and membership activation.
Step 10:
You are now able to list properties on our website based on the membership plan you have chosen. Just click on the Submit Property button which should be accessible from the top header once you are logged in. For steps on how to submit a property once you become a registered member click here.

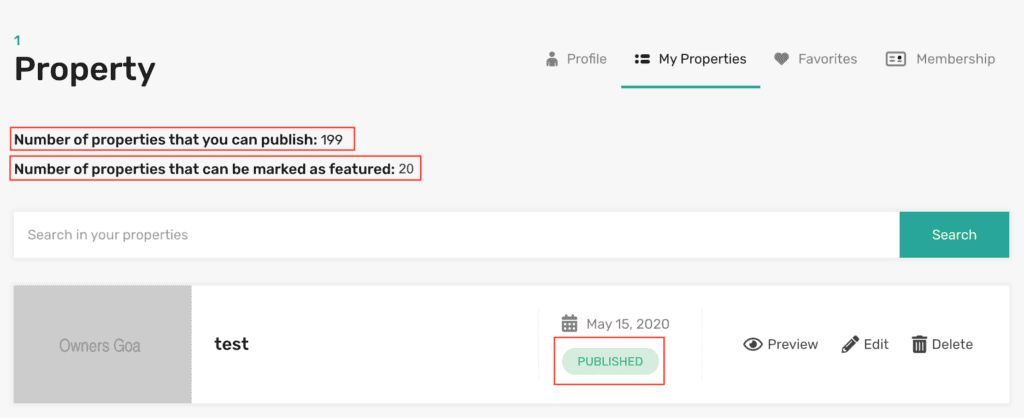
Important Note 1: You will be able to submit a property immediately after you register on our website. But the property listing will remain in the Pending Review status until you buy a membership package to access the listing quota allotted in the membership packages. You will also be able to see a message where it informs the member to subscribe to a membership package to be able to start publishing properties. It would look similar to the areas highlighted in red as in the image below.
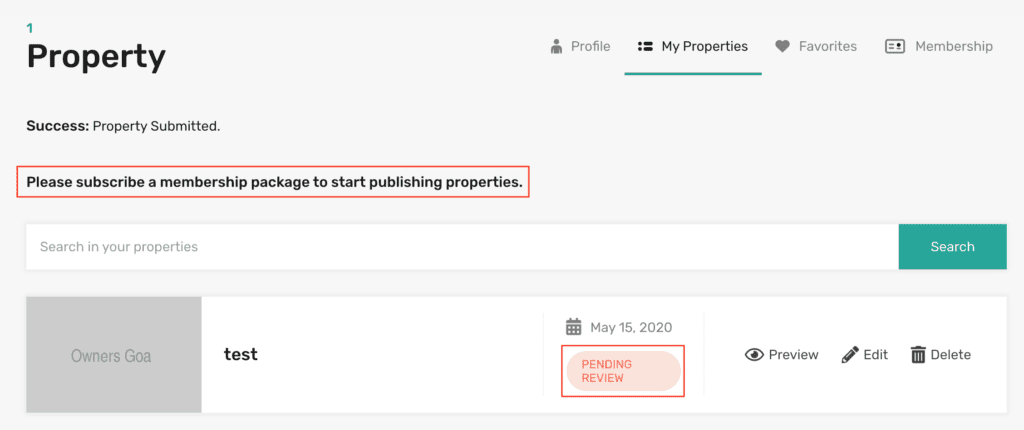
Important Note 2: Once you subscribe to a membership package, the properties that were submitted before you bought a membership package will automatically be updated from the Pending Review status to the Published status as shown in the image below. You will also be able to see the number of properties you still have available for publishing. If you have subscribed for the featured membership package you will also be able to track it here on the My Properties page.
