How To Submit A Property
This process will take about 10-15 mins and its best to perform these steps using a desktop or laptop as its much quicker.
Step 1:
Register and log in to our website to get access to the Submit A Property Button. To register, click on the user icon at the top right corner of the screen as highlighted in red in the image below:
![]()
The main reason it’s mandatory to be a registered user to access this option is so that your data is securely submitted. Once you are logged in you will be re-directed to the membership plans page by default. Here you can subscribe to one of our membership plans and continue with the next step. For steps on how to register and subscribe to a membership plan click here.
Step 2:
Click on the Submit A Property button on the top right corner of the webpage. It should look something like this:

Step 3:
Once you navigate to the Submit A Property Page, Fill up the basic details including:
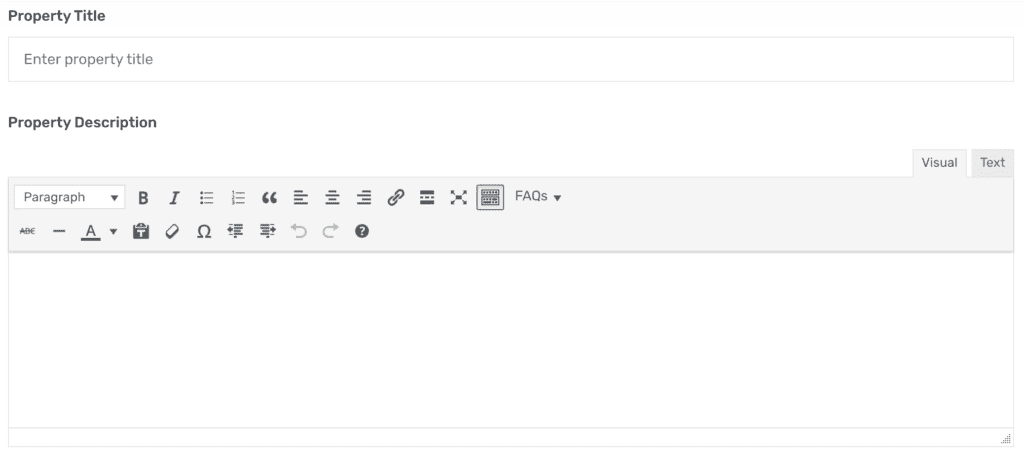
- Property Title: This should ideally include a short title with the house configuration, the complex or house name if any, the area name and the price. For example “2BHK Flat in Akar Excelsior, Colva for ₹72 lakhs”.
- Property Description: In this section, you can add in necessary details you would like to highlight about the property, including details about site visit time.
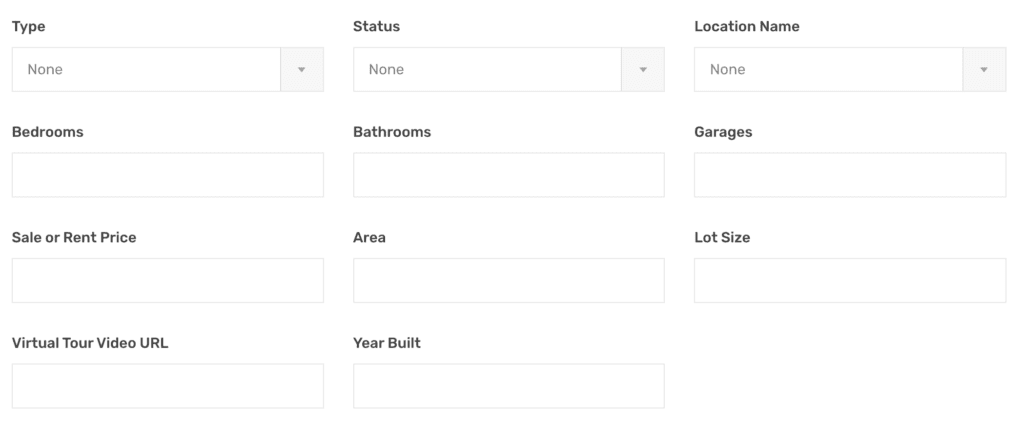
- Type: Here you should select the type of property you are going to list from the drop-down provided.
- Status: You need to choose the property status from the drop-down. There are 4 options: For Lease, For Sale, For Rent or Property Wanted.
- Location Name: Here you should choose the name of the location where the property is situated. You can click on the input field and easily search the location name by typing the name here.
- Bedrooms: Enter the number of bedrooms available in this field. If this field is not applicable to the property you are listing just leave it blank.
- Bathrooms: Enter the number of bathrooms available in this field. If this field is not applicable to the property you are listing just leave it blank.
- Garages: Enter the number of garages available in this field. If this field is not applicable to the property you are listing just leave it blank.
- Sale or Rent Price: You should enter the property value in this field in rupees currency. In case the property value is to be set at a later stage you can enter the value TBA.
- Price Postfix Text: You can enter a relevant text like per month, per year or onwards in this field to appear after the price value in your property listing.
- Area: The area here is the total floor area. It’s the useable space in a building after construction or the square footage. Enter the area of the property here.
- Lot Size: Lot size here refers to the area of the entire property or parcel of land. Enter the value of the lot size here.
Special Note: Normally, if the building has multiple floors, then the useable floor area space would be greater than the lot size.
- Virtual Tour Video URL: You can include your property virtual tour video here. You can use this tool to create virtual tools in few clicks.
- Year Built: Enter the year the property was built. For properties that are still-under-construction, you can mention as under-construction.
Step 4:
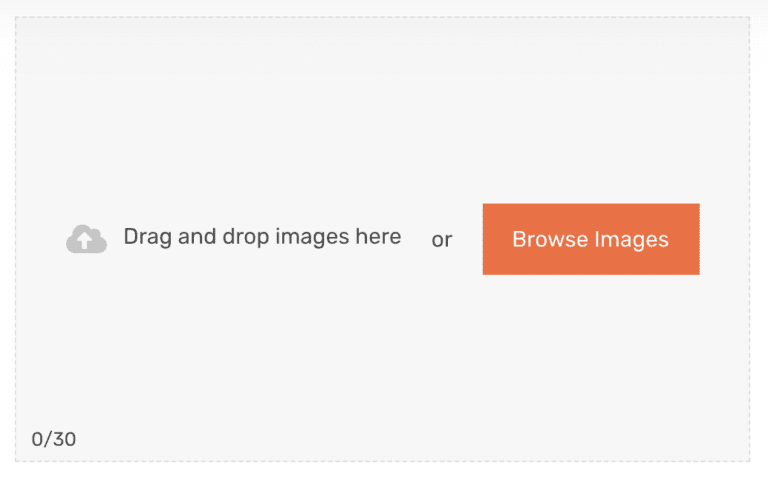
Next, you need to upload the property images. You can either click on the Browse Images button and select the image files or directly drag-and-drop the images in the image upload section. Please note that it is mandatory to upload a minimum of at least 1 image to your listing to be able to submit your property.
Once you upload the images it’s very important to choose a featured thumbnail image for your property by clicking on the star icon at the right bottom corner of the image you want to be set as the featured thumbnail image.
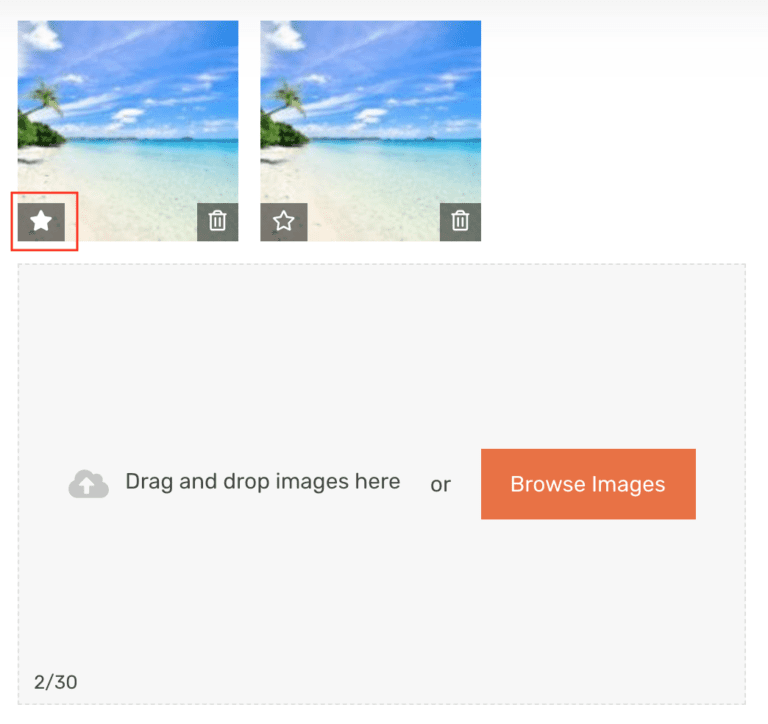
The featured thumbnail image would be displayed in the property listings pages in the area marked in red as in this image below:
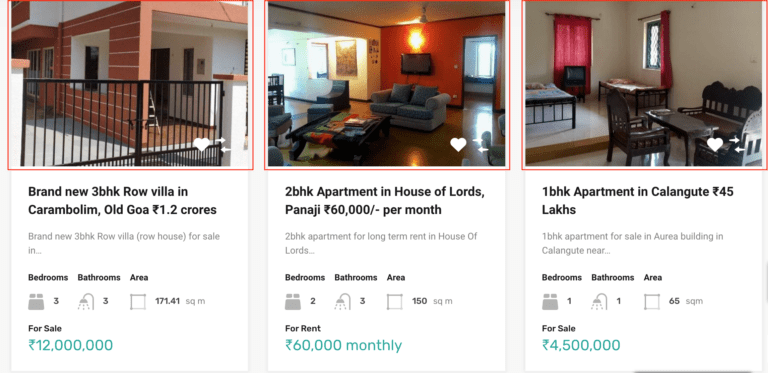
Important Note: All the property images dimensions should be 1200 x 680 px ideally. The featured image thumbnail dimension should be 680 x 510 px. This is to ensure the property images appear on the website nice and clean. If you upload a random size image that disrupts the look and feel of the website it might be taken down.
Tips To Bulk Re-Size And Watermark Your Images: You can use this tool to re-size the images. It lets you re-size bulk images in one go. In case you are an agent, agency, builder or a developer and would like to add watermarks to the images you can do so using this tool. You have the option to upload bulk images and add watermarks to all of them in one click.
Steps To Bulk Re-Size Your Images:
Once you open this tool to re-size the images you should see a page like this:
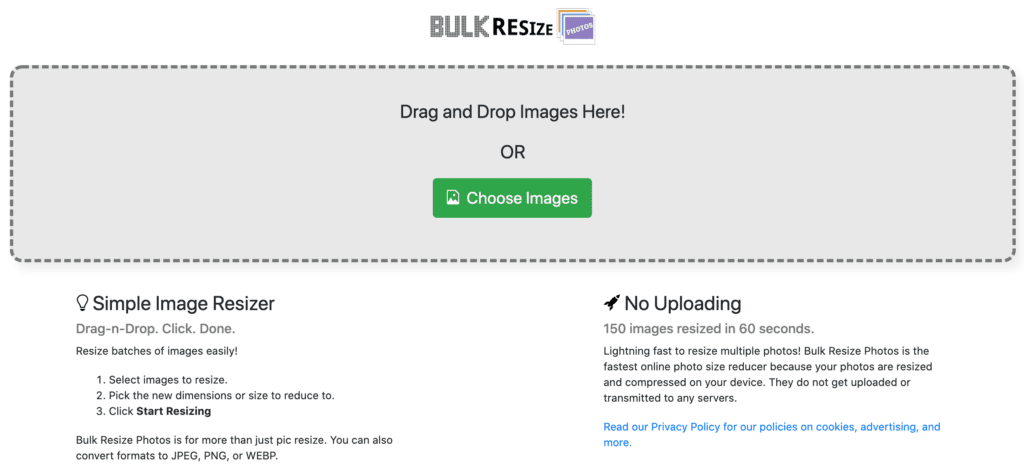
Upload the images by either clicking on choose images button or just drag-and-drop the images in the grey area. Next, click on Exact Dimensions tab on the left sidebar and then click on Expert Mode option.
- Step 1: Next, click on Exact Dimensions tab on the left sidebar
- Step 2: Then click on Expert Mode option.

- Step 3: Then enter the image dimensions as 1200 x 680 for normal property images and 680 x 510 px for the featured thumbnail image.
- Step 4: Next, click on the checkbox as marked in the image as step 4. This is to ensure that if you don’t have a landscape image and use a portrait image instead, it will adjust the image to re-size optimally as per the entered dimensions.
- Step 5: Then set the image format as JPEG.
- Step 6: Set the image quality to minimum 80 or maximum 85.
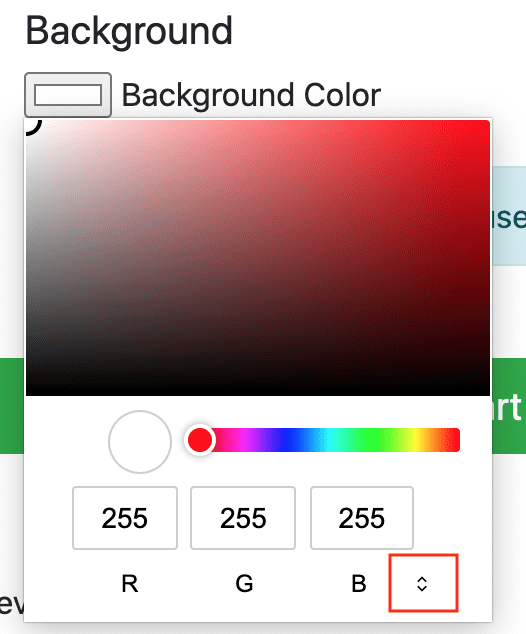
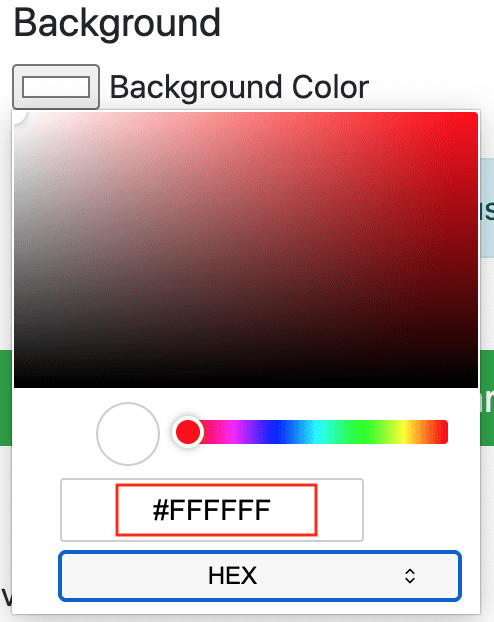
- Step 7: Click on the background box and a color picket dialog box should open. Click on the icon next to the R G B options marked in the picture below. Click on the icon twice till you see the RGB option change to HEX and change the value #FFFFFF to #303030
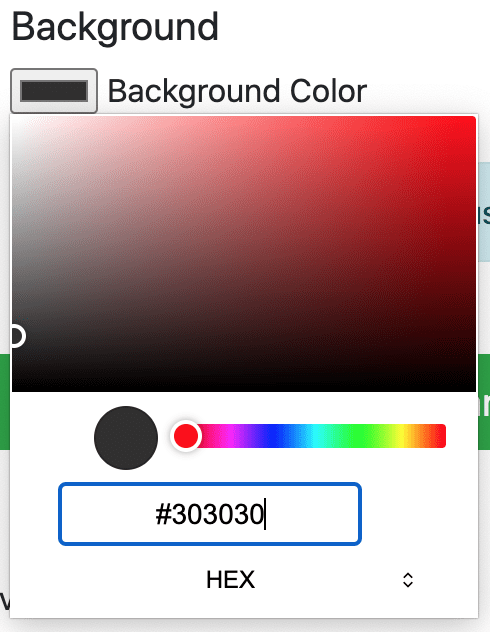
- Step 9: Finally, click on Start Resizing. Your images will be re-sized and a zipped folder will be automatically downloaded.
Steps To Bulk Watermark Your Images:
Open this tool to add a watermark to the images you should see a page like this:
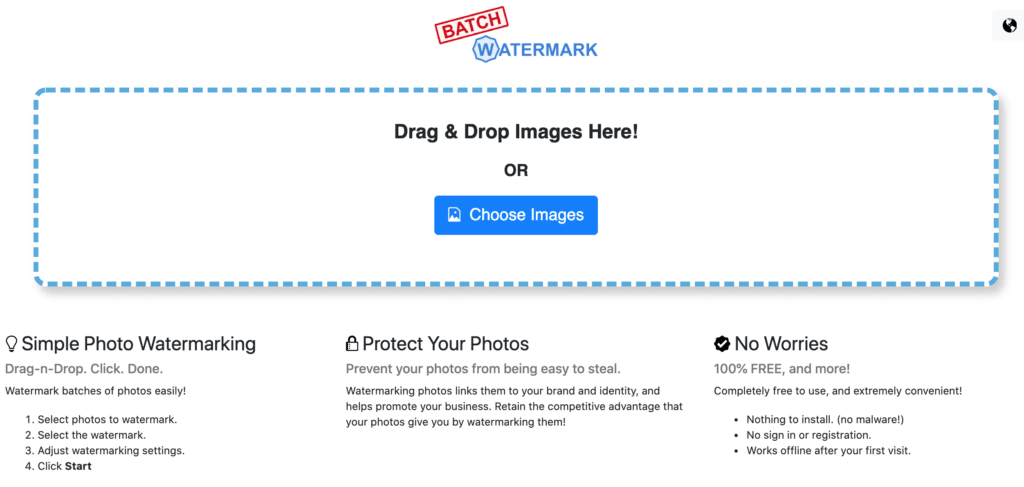
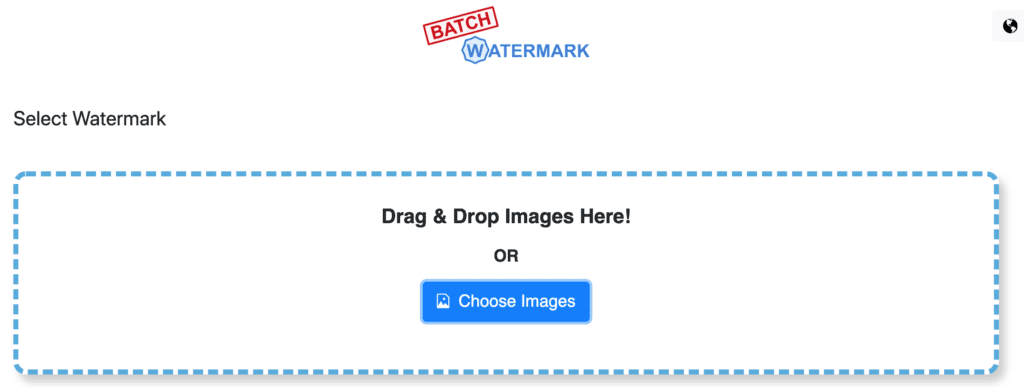
Upload the images by either clicking on the choose images button or just drag-and-drop the images in the white area. Once you have uploaded the images you will be taken to a page as below:

You have 2 options to add a watermark on your images:
1. Using An Image Watermark: You can easily add a watermark by uploading your logo as desired. You also have an option to choose the position where the watermark should be added and a few more settings like the angle, size and visibility as seen in the image below:
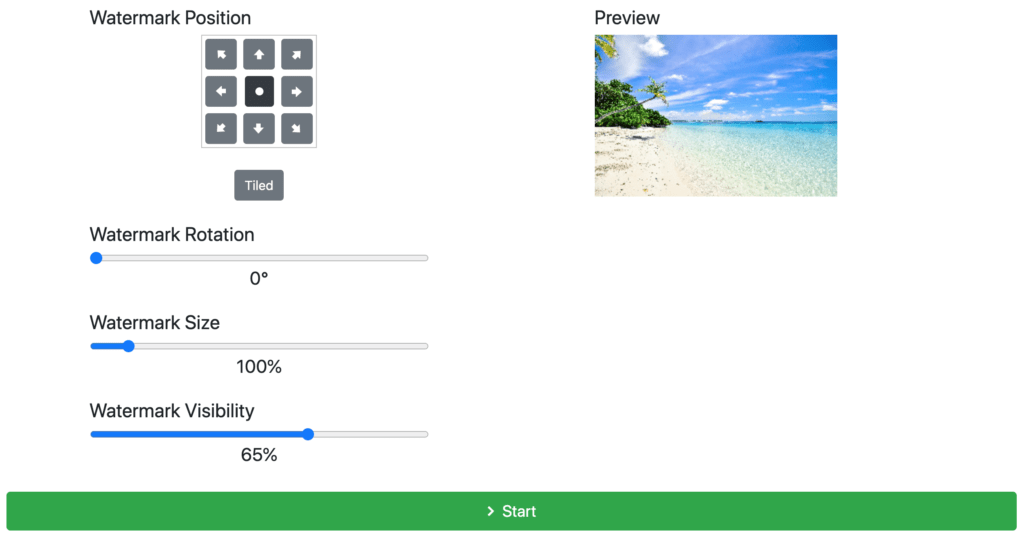
Finally, click on start and your image will be generated and saved automatically.
2. Using An Text Watermark: You can easily add a text watermark to an image by entering a text in the watermark text input field as desired and choose a font colour and style. You also have an option to choose the position where the watermark should be added and a few more settings like the angle, size and visibility as seen in the image below:
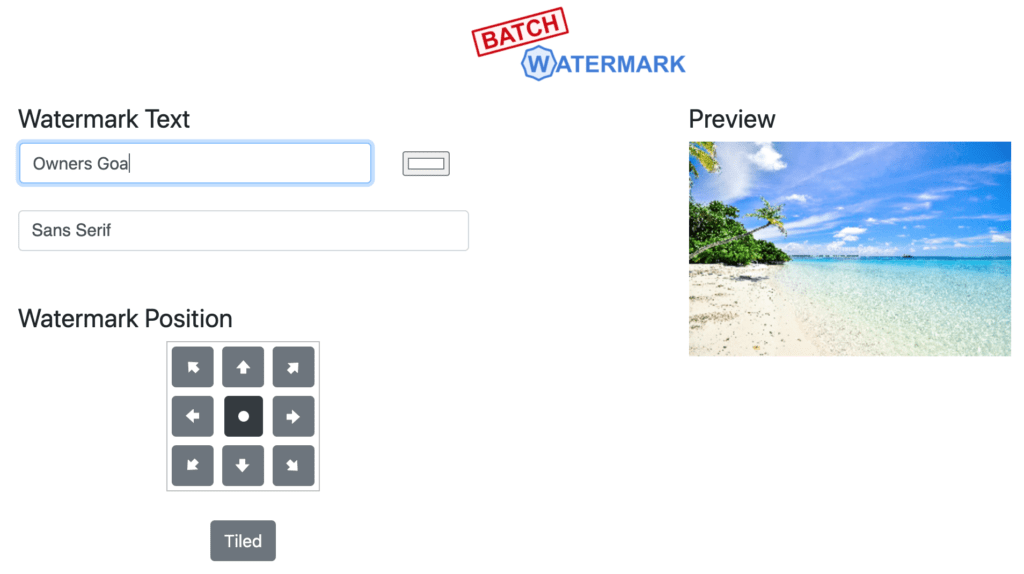

Finally, click on start and your image will be generated and saved automatically.
Step 5:
Next, you can upload any property documents or attachments to your property listing bu clicking on Browse Attachments or just drag and drop the attachments directly into the grey area as shown in the image below. You can attach PDF files, Map files, or provide further details related to the property.

Step 6:
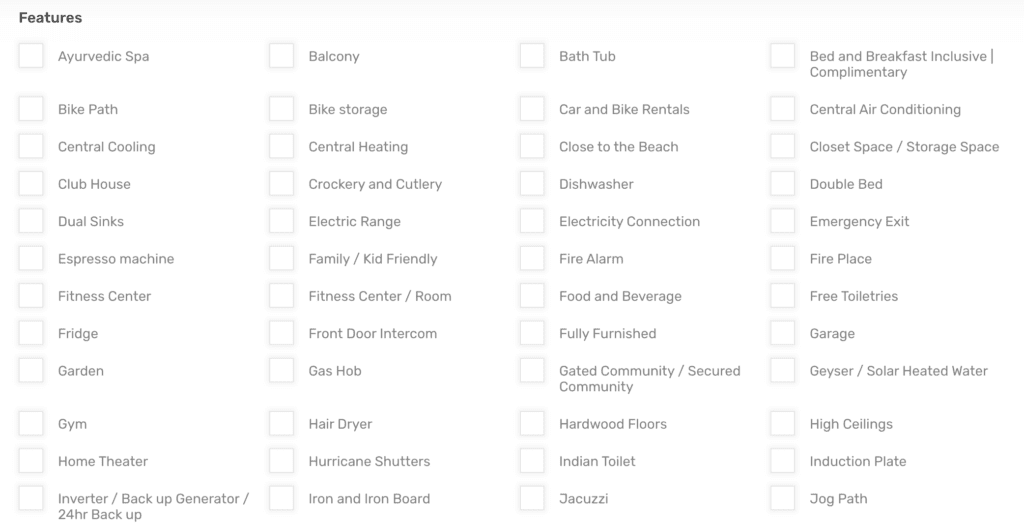
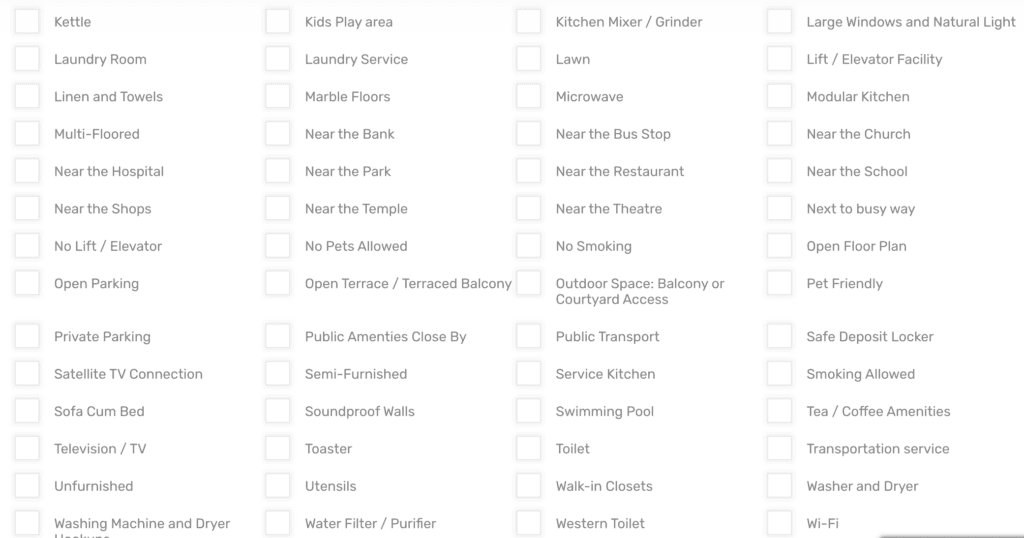
Now you can mark the features that your property offers from our extensive features list below. In case there is a feature you offer that’s missing from our list you can include the feature in the property description section.
Step 7:
Next, you have to select the option My profile information as shown in the image below. It’s important to choose this option so that customers have access to your contact details to get in touch with you. Though not recommended, if you have to keep your contact information private you can do so by selecting the None option.

Step 8:
- If you are a homeowner lisitng a single home, you can select the option (no parent) from the drop-down as the Parent Property.
- If you are a hotel, developer or builder who has multiple properties available in one building you can first submit a property following this guide as the main building property. Then list the remaining properties in that building as sub-properties under the main property listing by choosing that property you listed first as your parent property from the dropdown as shown in the image below. For single properties, you can set the Parent Property drop-down to (no parent).

Step 9:
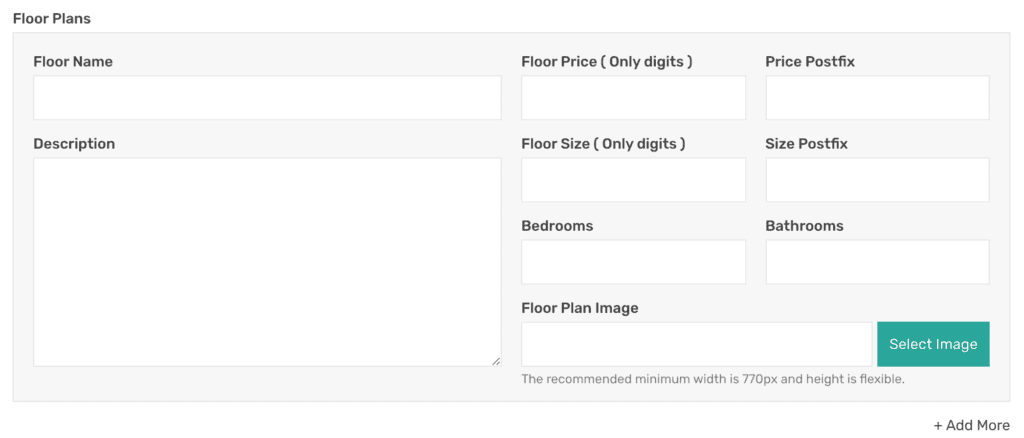
Next, upload your property floor plan image and the necessary details. You can add as many floor plan images as you require by clicking on the +Add More link on the right bottom corner of the Floor plans section as shown in the image below.
Step 10:
If you want to mark the property you are going to submit as a featured property, don’t forget to select the checkbox as in the image below:

Step 11:
Finally, just select the terms and conditions checkbox and click on Submit Property.

Step 12:
Once your property has been submitted successfully, you will be taken to the My Properties page where all your submitted property listings will appear.
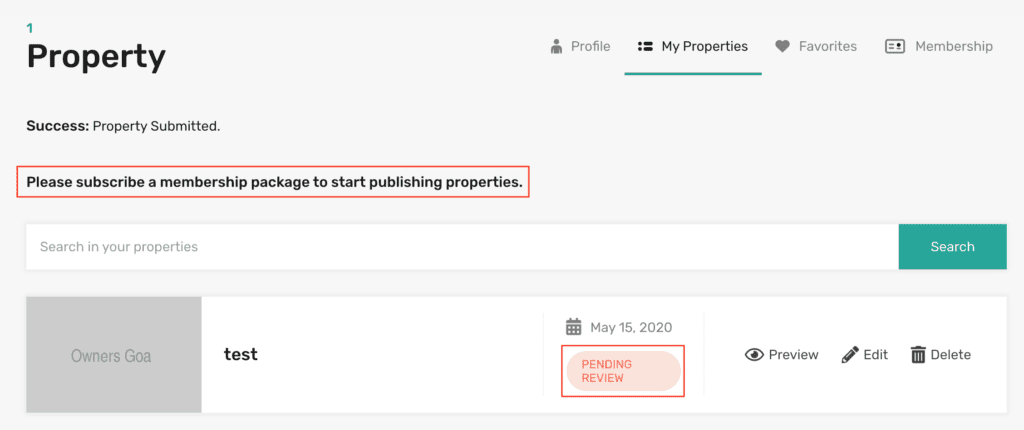
Important Note 1: You will be able to submit a property immediately after you register on our website. But the property listing will remain in the Pending Review status until you buy a membership package to access the listing quota allotted in the membership packages. You will also be able to see a message where it informs the member to subscribe to a membership package to be able to start publishing properties. It would look similar to the areas highlighted in red as in the image below.
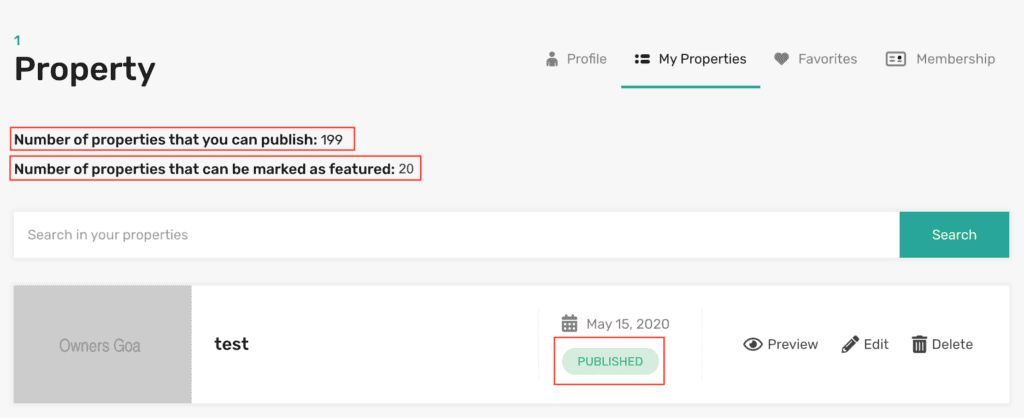
Important Note 2: Once you subscribe to a membership package, the properties that were submitted before you bought a membership package will automatically be updated from the Pending Review status to the Published status as shown in the image below. You will also be able to see the number of properties you still have available for publishing. If you have subscribed for the featured membership package you will also be able to track it here on the My Properties page.
Images For Property Wanted:
In case, you are submitting a property listing for Property Wanted you can use the 2 images we have provided below. Just click on the Download button.

Featured Thumbnail Image

General Property Image